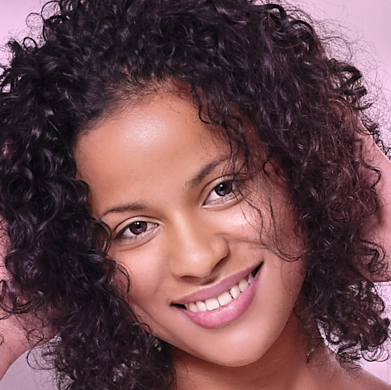
Eyebrow and eyelash henna. How I dye my brows and lashes with henna?
From my own experience I know that henna is a cheap and safe way of colouring and keeping lashes and brows darker even for 3-4 weeks. Owing to henna, you can save more than 10 minutes every morning that you’ve been devoting to enhancing eyebrows and coating lashes with a mascara. Do you want to apply henna to the brows and lashes but you don’t know how to do it? I’m genuinely eager to tell you how I dye my lashes and brows with henna.
What’s henna and how is it obtained?
Natural henna is greenish powder that doesn’t have any colouring properties. It wins the very features due to acids and temperature. Preparing henna oneself is a rather complex process which requires mixing the powder with lemon juice, essential oils, sugar, water and other ingredients in order to make henna dense and sticky. Adequate preparation of natural henna requires skill and experience.
Henna is obtained from dried and minced leaves of hina (Lawsonia inermis). Hina is a bush growing in a hot climate (the hotter ambient temperature is, the higher concentration of the colourant in the plant). Its leaves feature red colourant (lawson). Lawson bonds with keratin in hair. As a consequence, hair wins colour.
Henna for dyeing hair, brows and lashes
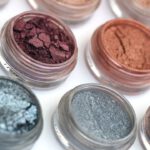
Natural henna contains a colouring matter of red-brown shade, and therefore this is the very colour you can obtain if using it to dye your hair, eyebrows and eyelashes. However, drugstores offer dyes of many shades – from dark blondes to pitch-black – and all of them are sold as henna. How is it possible?
Such preparations are sold either in the form of powder that has to be mixed with hydrogen peroxide, or in the form of cream/gel being the readymade henna dyes. Nevertheless, before you buy such product, don’t forget to check out the list of ingredients. Pay special attention to the presence of additional colourants used during production. Note that instead of natural product of vegetable origins, you may find a highly irritating preparation containing artificial colourants.
Adding natural substances of vegetable origins enables to obtain various colours of henna, for example, a good colourant gifting henna with black shade is indigo. On the other hand, fairly hazardous might be preparations such as black colourant called Parafenylenodiamina (PPD) which is known for being a potent allergic agent.
Brow and lash henna – professional colouring
You can use henna to dye your hair at home or have it done at a beautician’s. If you want to carry out the procedure yourself, you have to get a preparation featuring natural colourants or run a patch test at least 24 hours before the treatment. The best results are obtained by people having fair complexion as well as light brows and lashes.
When it comes to the patch test, it depends on applying the preparation to a small skin area: either to behind ear area or inner elbow. When the preparation dries out, wait at least 24 hours and pay close attention how your skin reacts to it. If no adverse reactions noticed, you can start colouring your hair.
The most important is choosing the right shade of henna. At the beginning, try not to pick dark shades because you don’t know yet how fast your hair is going to ‘catch’ the colour. For the sake of safety, you can go for gel henna because it’s more gentle in action.
How do I colour the brows and lashes myself?
Henna application
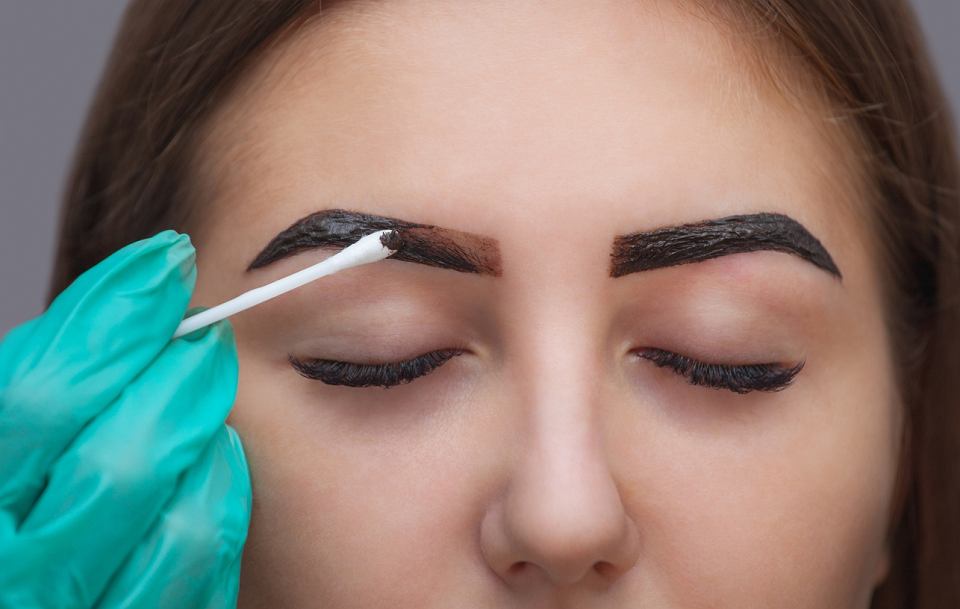
I always follow the instructions included in a leaflet when applying henna. This means that, among others, I do everything to prevent henna from getting into the eyes. In order to avoid skin discolorations I tend to cover the around eyebrow area with Vaseline or rich cream. When it comes to lash colouring, I use a cotton pad an place it underneath the lashes, on the lower eyelid.
In most cases I remove unwanted hair from my brows after colouring. I rarely do it before the procedure. After that I distribute the product so as to prevent it from being in contact with skin (if it is possible), and I’m talking here mainly about the eye brow area. Thanks to that the final effect is more natural. Depending on the brand a particular henna is, I let it sit on my brows or lashes from 5 up to 10 minutes (of course, you will learn it form the leaflet), an then I remove henna with a damp cotton pad.
The effects of eyelash colouring should last for 3-4 weeks, but when it comes to eyebrows, the effect should last up to 2 weeks. Since henna doesn’t deteriorate hair condition, you can reapply it as often as you feel like to.
Henna removal
If the eyebrows are too dark after treating them with henna, I try to light them up using a make-up remover or henna remover. It goes without saying that you can avoid any bloomers while applying henna to your brows or lashes by arranging a visit at a beautician’s. It’s also worth realising that if you decide to have brows coloured by a professional, s/he will also shape your brows (this is what the professional treatment consists of).
Brow and lash henna – contraindications
Like I said earlier, henna doesn’t do any damages to hair, yet there are a few contraindications to applying it. They are:
- freshly-shaved skin areas;
- open wounds/cuts located on eyebrow and eyelid area;
- allergy to the product’s components;
- redness or puffiness of eyelids;
- eye inflammations.
What are your experiences with henna? Do you use it to colour your eyebrows and eyelashes? If so, do you do this at home or do you prefer having it done at a beautician’s? Share your opinion in the comments.